


Photographing an Eclipse: Filters
What Are The Budget Options And How Good Are They
Disclaimer
My approach to this testing was to find a budget friendly solution that would also maintain safety. This year’s eclipse will be the last one of its kind in the U.S. until the 2030’s – I didn’t want to spend hundreds or thousands of dollars for essentially a one-time event. As I mentioned in an earlier post, this is my first attempt at photographing a solar eclipse. My notes are either from the testing I performed using an uneclipsed sun or from research I performed.
Warning
Looking at the sun through your camera’s optical viewfinder is dangerous – even if you have a filter on your lens. It is always safer to use the live view feature on your camera to focus or use Wi-Fi or Bluetooth if available. This is a little safer on cameras with an electronic viewfinder, but still be careful. You only have two eyes… You don’t need either, or both, of them getting damaged…
Solar Filters/Foil
Solar filters are purpose built for shooting the sun. They are really dark… Dark to the point that they can’t be used for much else. That said, they are an affordable solution for a rare event like this year’s eclipse.
The filter I tested was actually a piece of Mylar film that was reflective on one side. It was extremely light weight and not susceptible to breaking if dropped. Scratch resistant it is not, but if you are careful it should not be an issue.
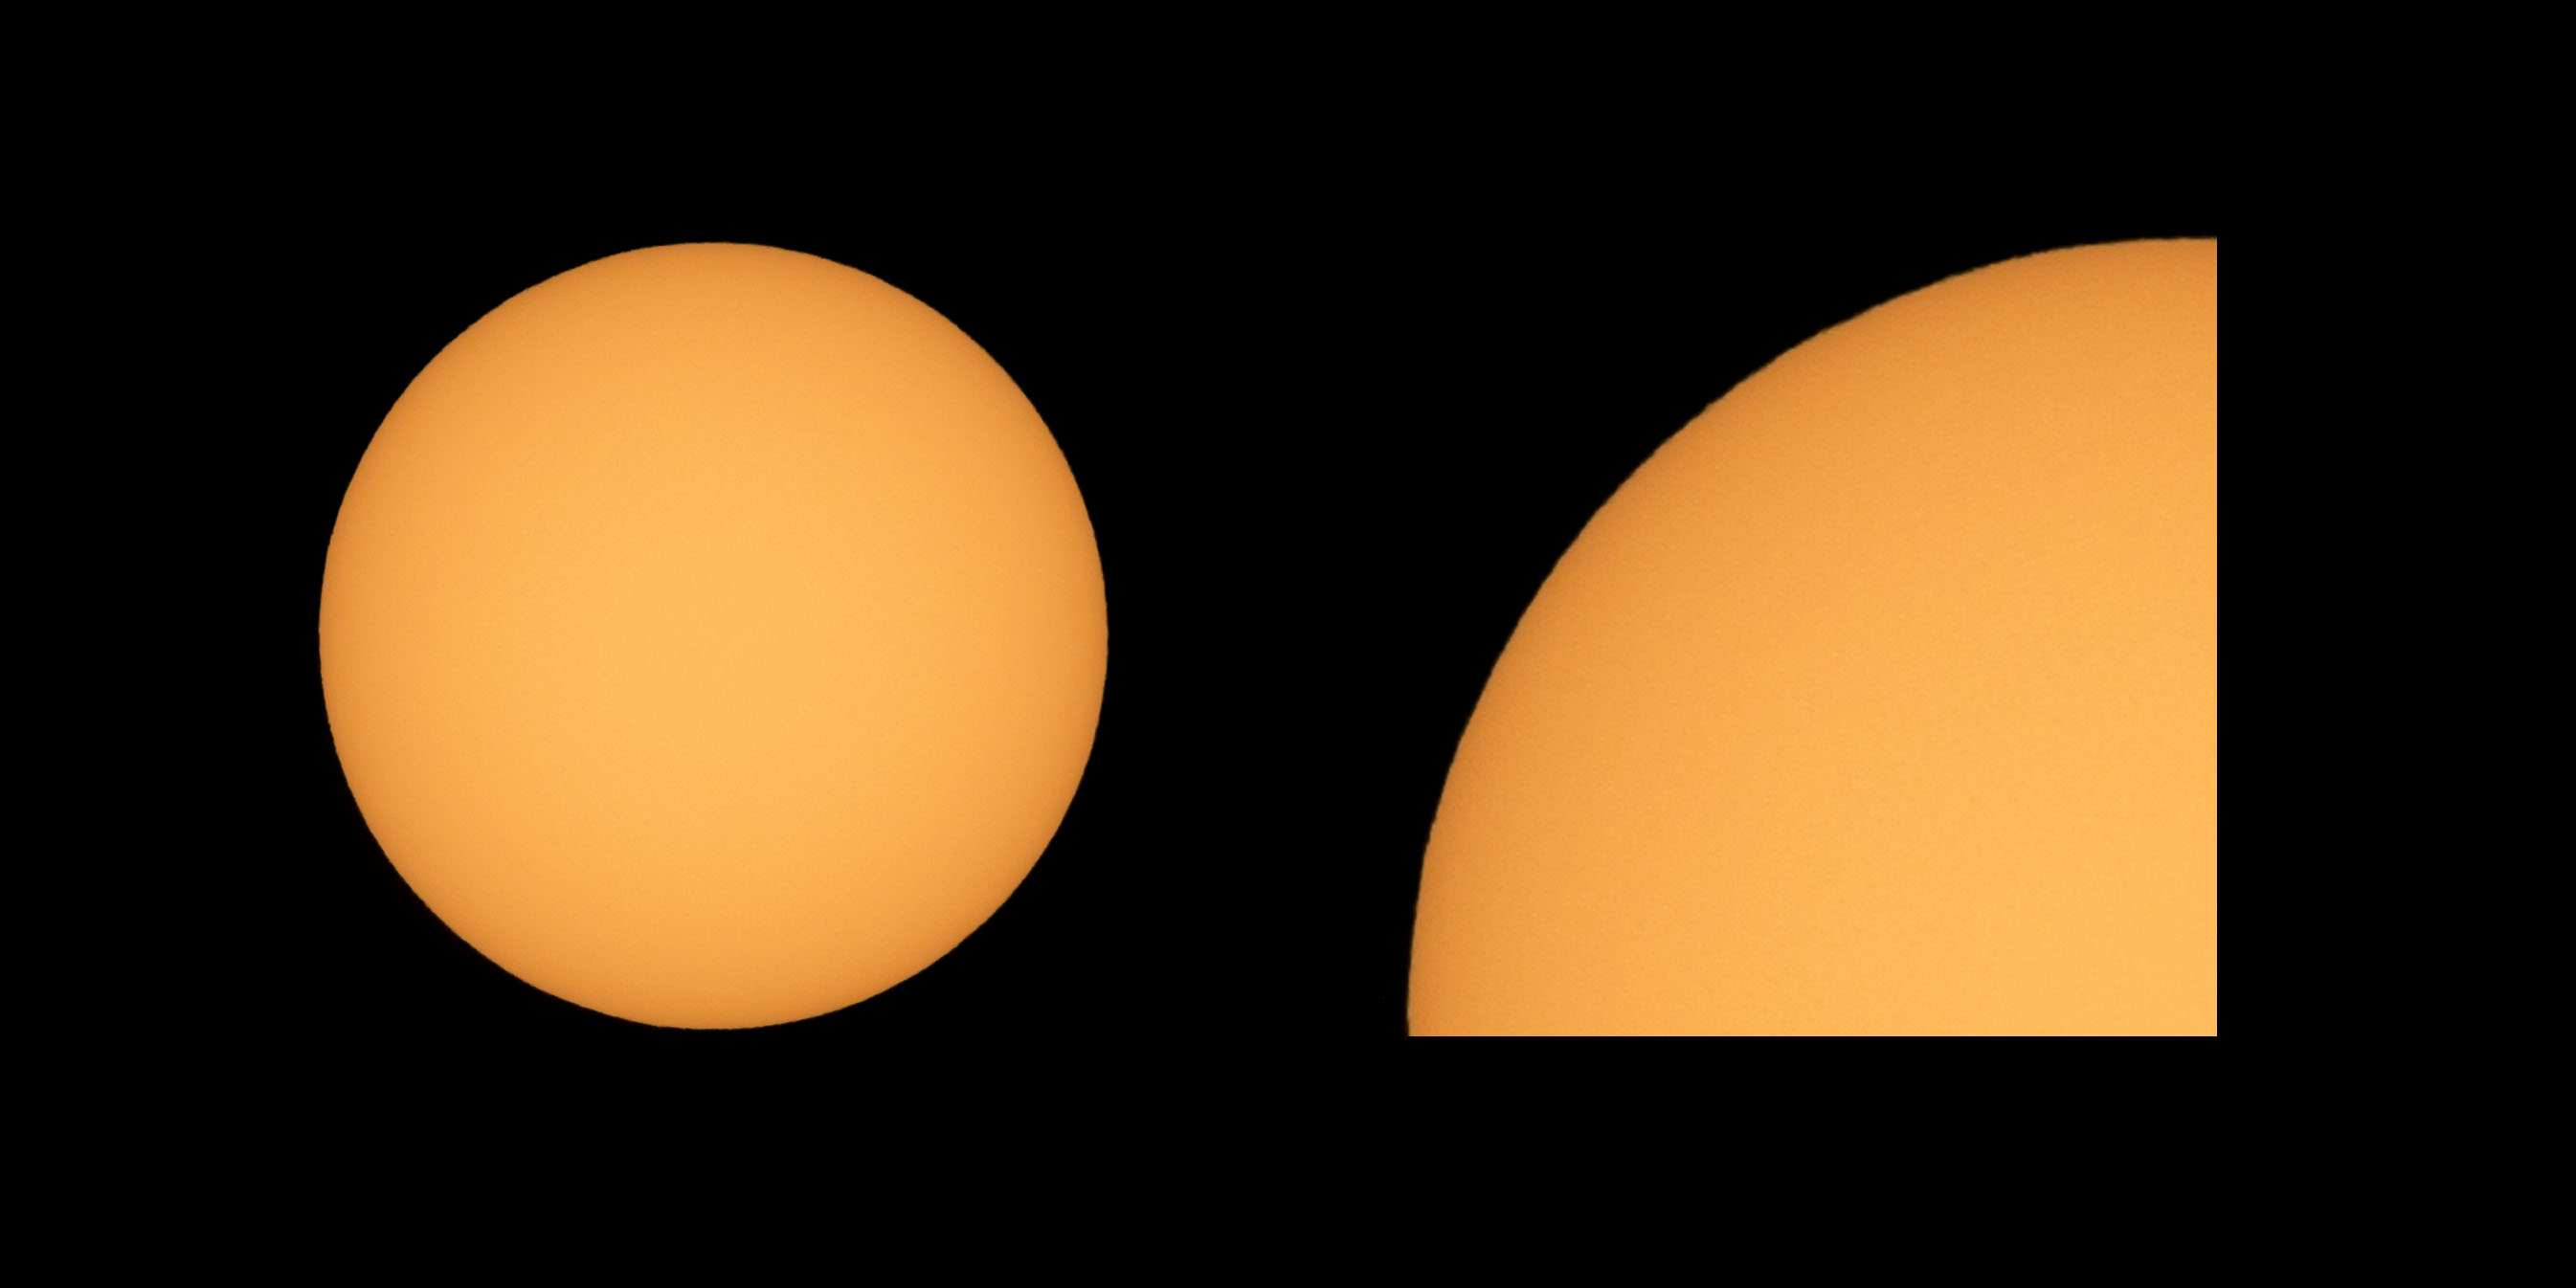
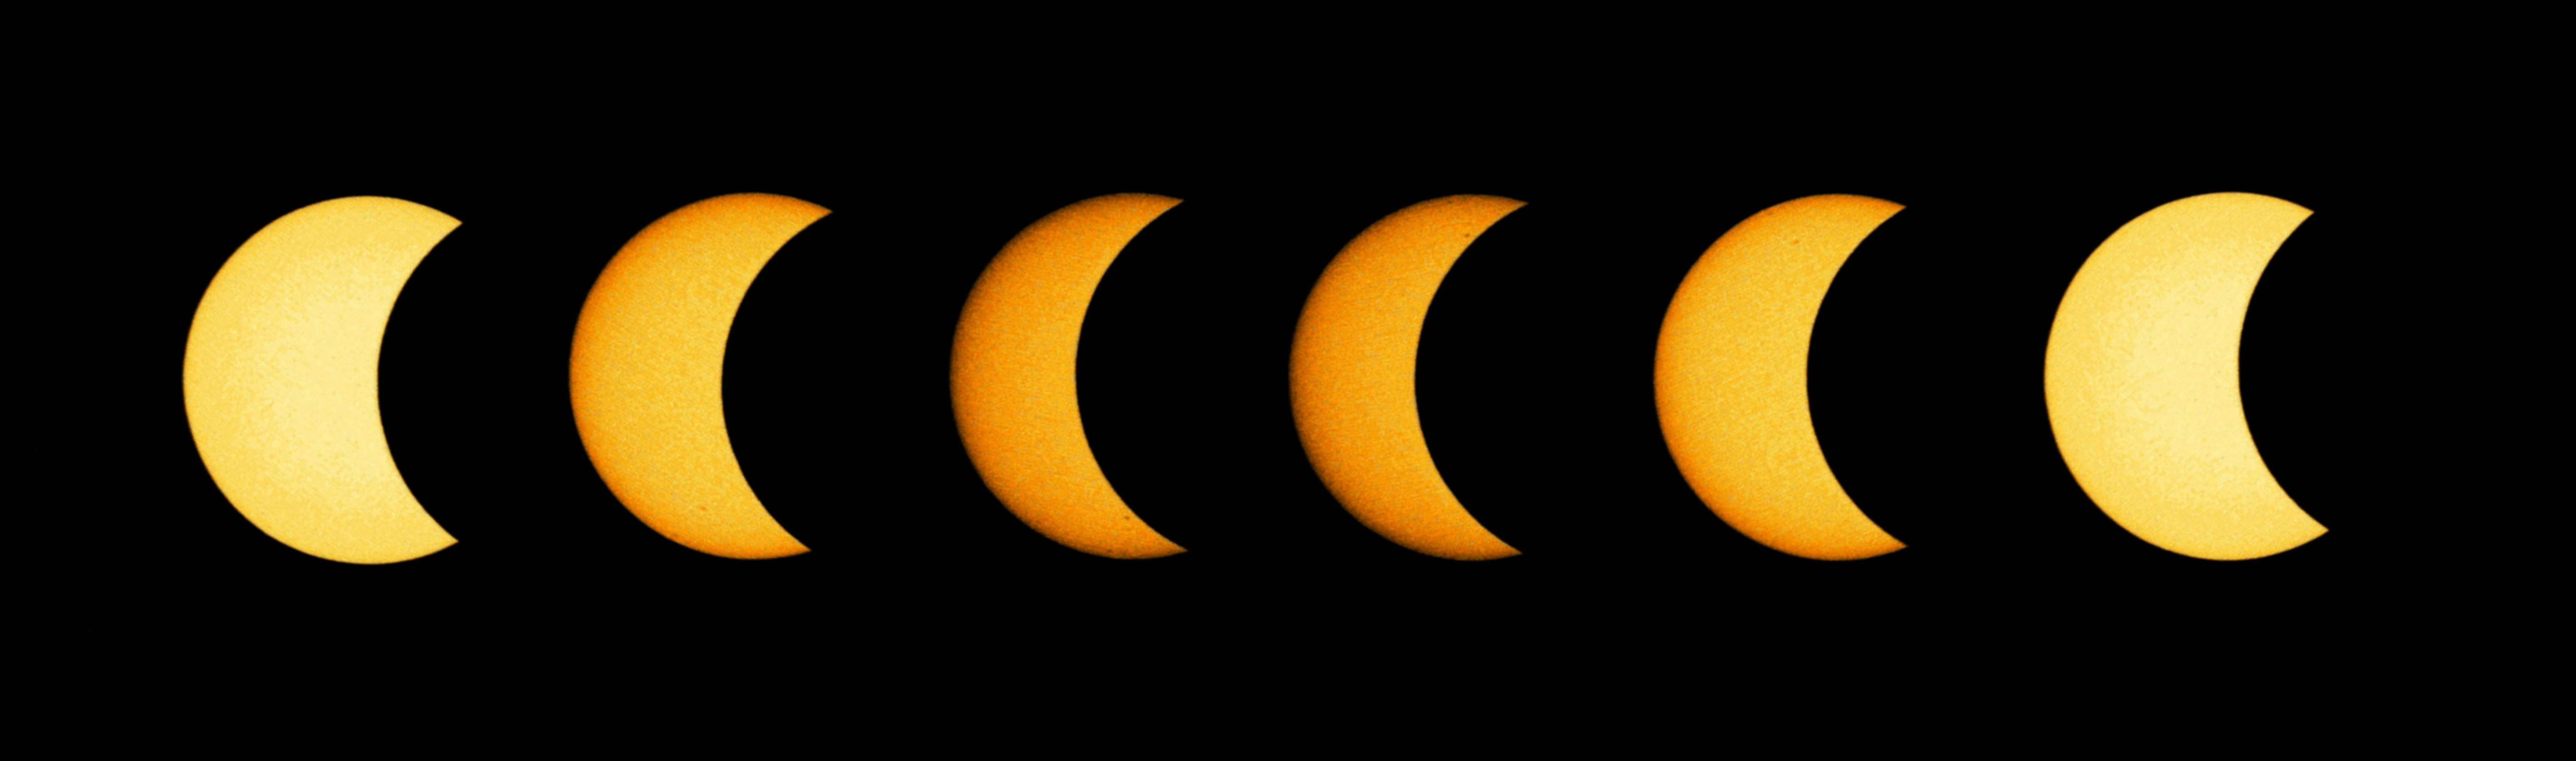
Solar Film – Full disk and 200% zoom of edge sharpness (f6.3, ISO200, 1/400)
Pros of Solar Foil
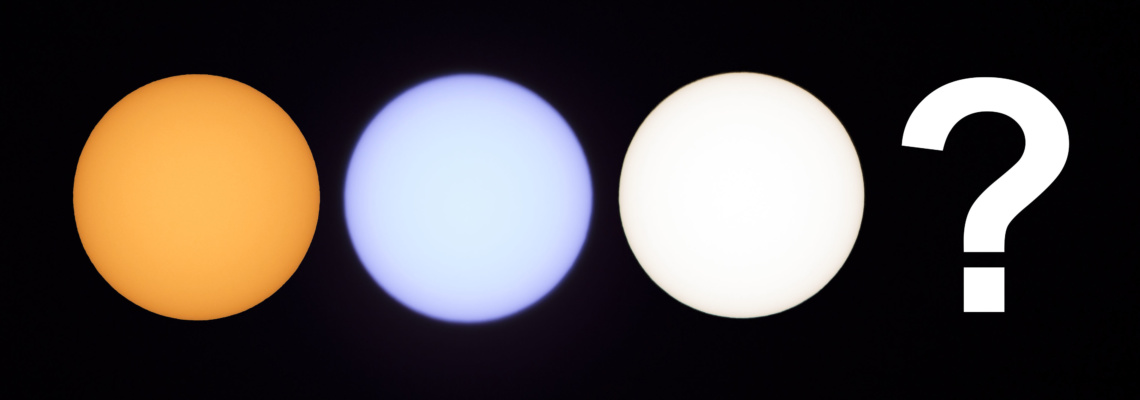
The filter I tested blocked 7 stops more light than the 10 stop ND I tested – it’s really dark. This is a big plus as your camera doesn’t need to use a crazy fast shutter or microscopic aperture to get a properly exposed shot. It was also cheap at $20 (get it at Amazon). The image of the sun was a yellow color – that’s great given that our sun is yellow.
Solar foil comes in several sizes – the smallest I could find was eight inches. That should cover the front of almost any lens. If you need something larger, it also comes in 12 inch sheets. It is easy to cut to size and an 8” sheet should be enough to cover a few lenses… So maybe go halvesies with a friend and reduce the cost even more.
Another plus is that the foil can be easy to remove without disturbing your camera too much. This is important as no filters are necessary during totality. The quicker you can get your filter out of the way, the sooner you can start shooting totality. Given that it will only last between 100 and 140 seconds, anything you can do to speed adding/removing filters the better.
Cons of Solar Foil
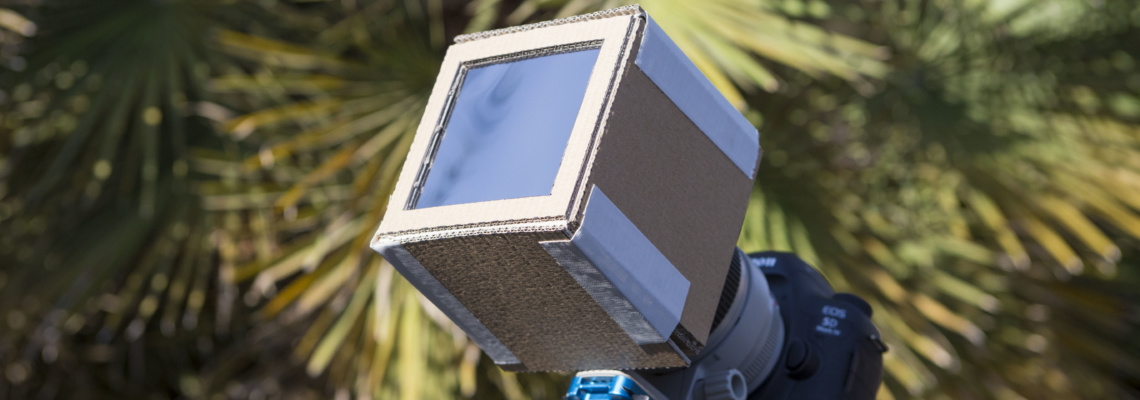
The only real con I can find is that it does not come ready to mount to your lens. You will need to put some effort into a mounting solution. Below is an example of what I came up with… When it is broken down, it travels flat, it is relatively light, and (for the most part) be repaired with gaff tape.
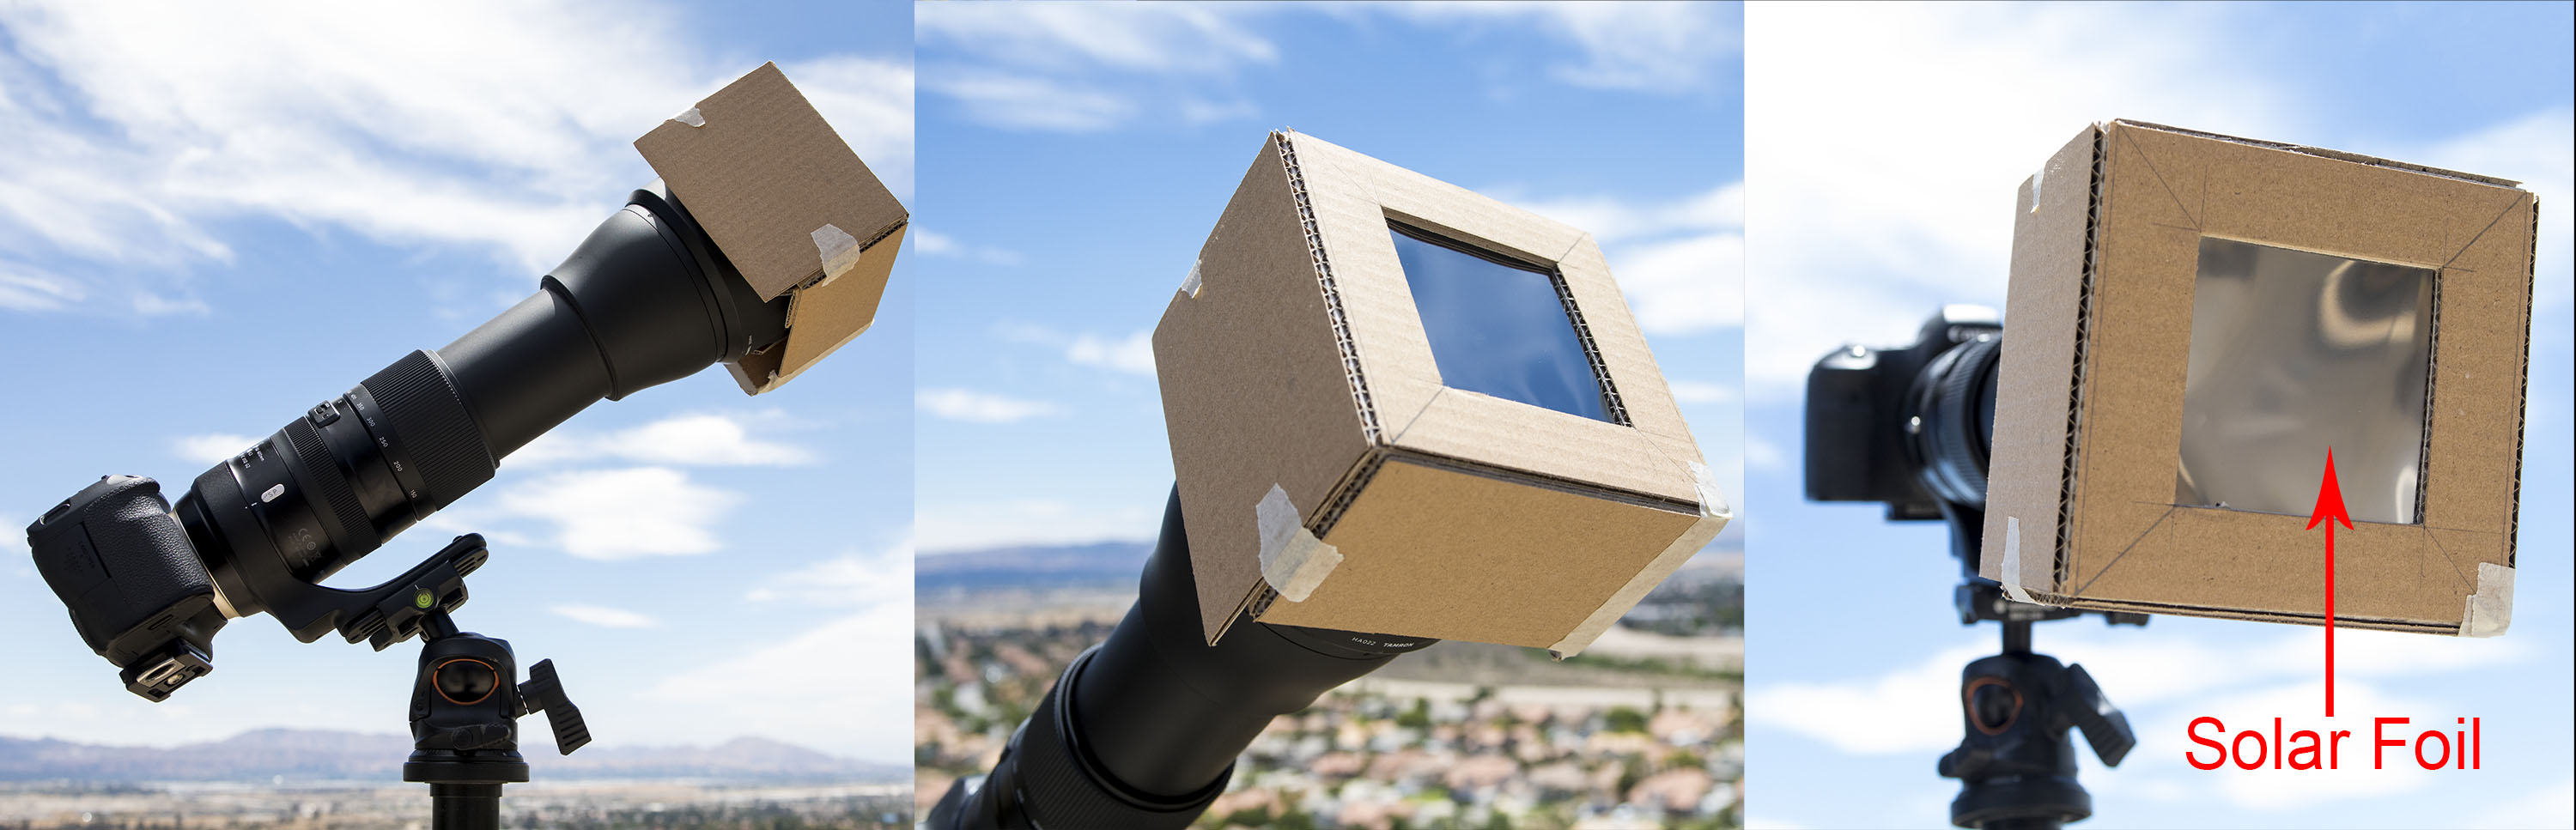
DIY Solar Filter with Solar Foil and What’s Left of a Printer Box
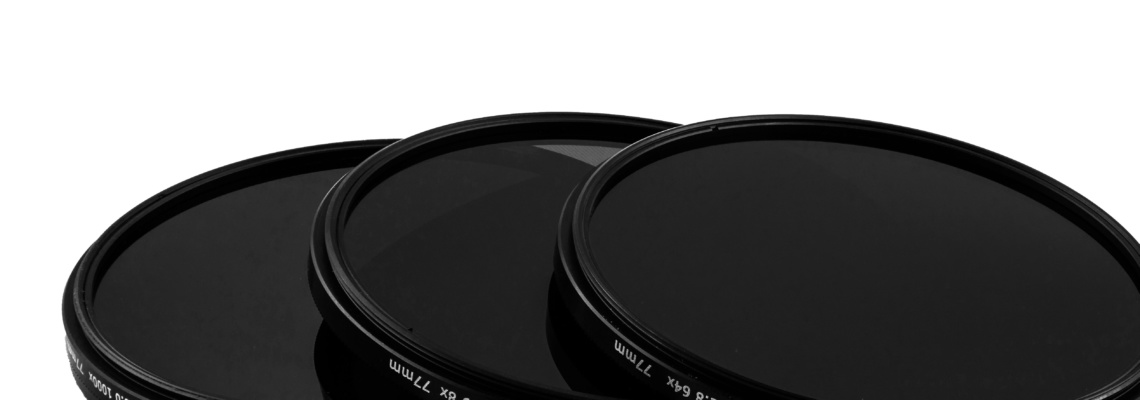
ND Filters
A quick disclaimer (yes another one): ND filters are not designed to block/reduce UV or infrared energy. While your eyes, or sensor, will be seeing less visible light they are getting hit hard with UV and IR. Again, use live view or W-Fi to focus your camera when pointing it at the sun
Now, on to the filters… The recommendations I have seen for photographing an eclipse is 14-16 stops of light reduction. That is basically all visible light being blocked with only the sun visible. This is great if you are using wide apertures and need the extra light blocking, but does not give you much exposure leeway if you are using slower lenses. As the visible portion of the sun gets smaller, you will need to adjust exposure slightly as there will be less light in the scene. My lens starts at f6.3 and gets smaller from there – the only flexibility I have is in shutter speed and ISO… If you are using a single filter to reduce 15+ stops of light, you may be backing yourself into an exposure corner you can’t get out of.
The two types of ND filters I tested were variable and fixed. Here is what I found:
Variable ND filters:
In the case of photographing an eclipse, there is not much use for this type of filter. In all fairness, I didn’t spend $300 on a top of the line variable ND – The rarity of this event precludes me from spending that much money. I don’t do a lot of slow shutter work that would make use of a filter at that price point before or after the eclipse.
The variable ND filter I tested was ~$60 on Amazon. Yes I know the price tag says it all, but it could have worked out…. The two major issues I found were a horrible color cast (it was way blue) and the glare created between two layers of glass caused really soft focus. I mean really soft… Then there is the issue of how much light they block. Many variable NDs top out at eight stops – well short of the 14-16 stops recommended.
The only real use I can see for these is if you have a say six or eight stop static filter and need to dial in a few extra stops of darkness. If that is your plan, spend the money and get a good variable ND. Or rent a good one…
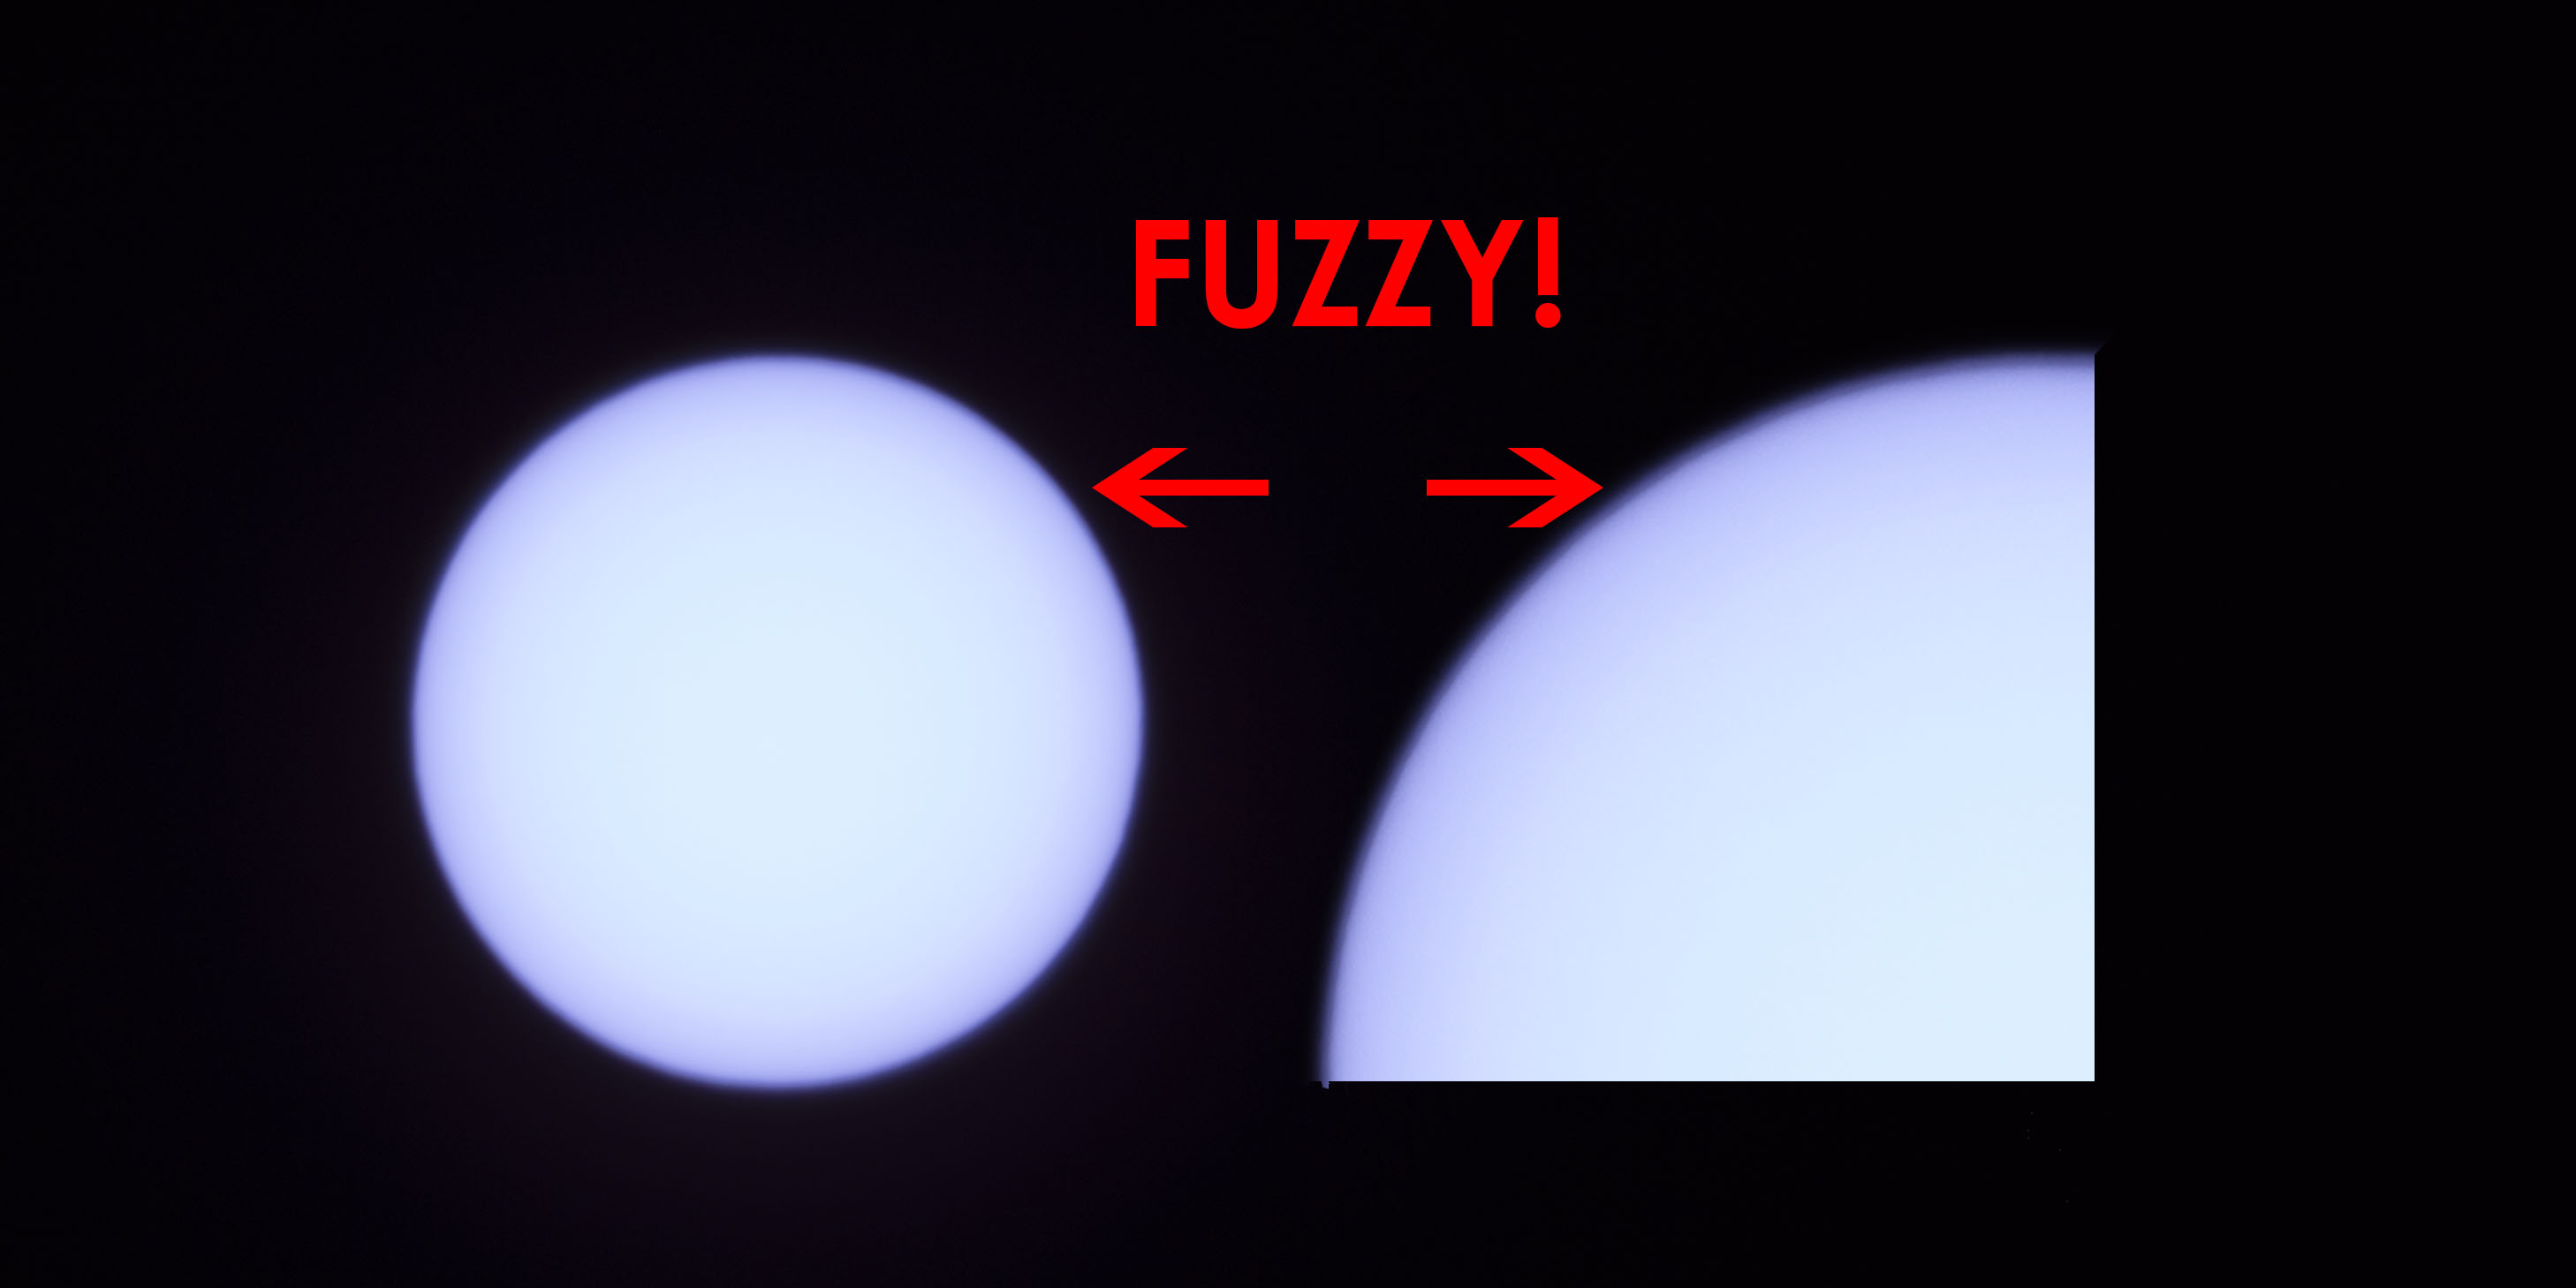
Variable ND Filter – Full disk and 200% zoom of edge sharpness (or fuzziness) (f6.3, ISO200, 1/1600)
Static ND filters:
I had much better luck with a static ND filter at the same price point as the variable ND I tested for two reasons:
- The 10 stop I used blocked more light than the variable ND
- The sun wasn’t blue
Because there is only one piece of glass in the filter, images are considerably sharper than the variable ND I tested. The static filter I tested had a brownish color cast… In this case it isn’t too bad if the sun is exposed brightly as it still looks yellow. But the focus was the biggest deal.
If you need a stronger effect, static NDs can be stacked or you could add a polarizer which will block a few stops of light. The 10 stop I was using was sufficient with a really small aperture and ISO as low as it goes. Below is an example from the static ND filter.
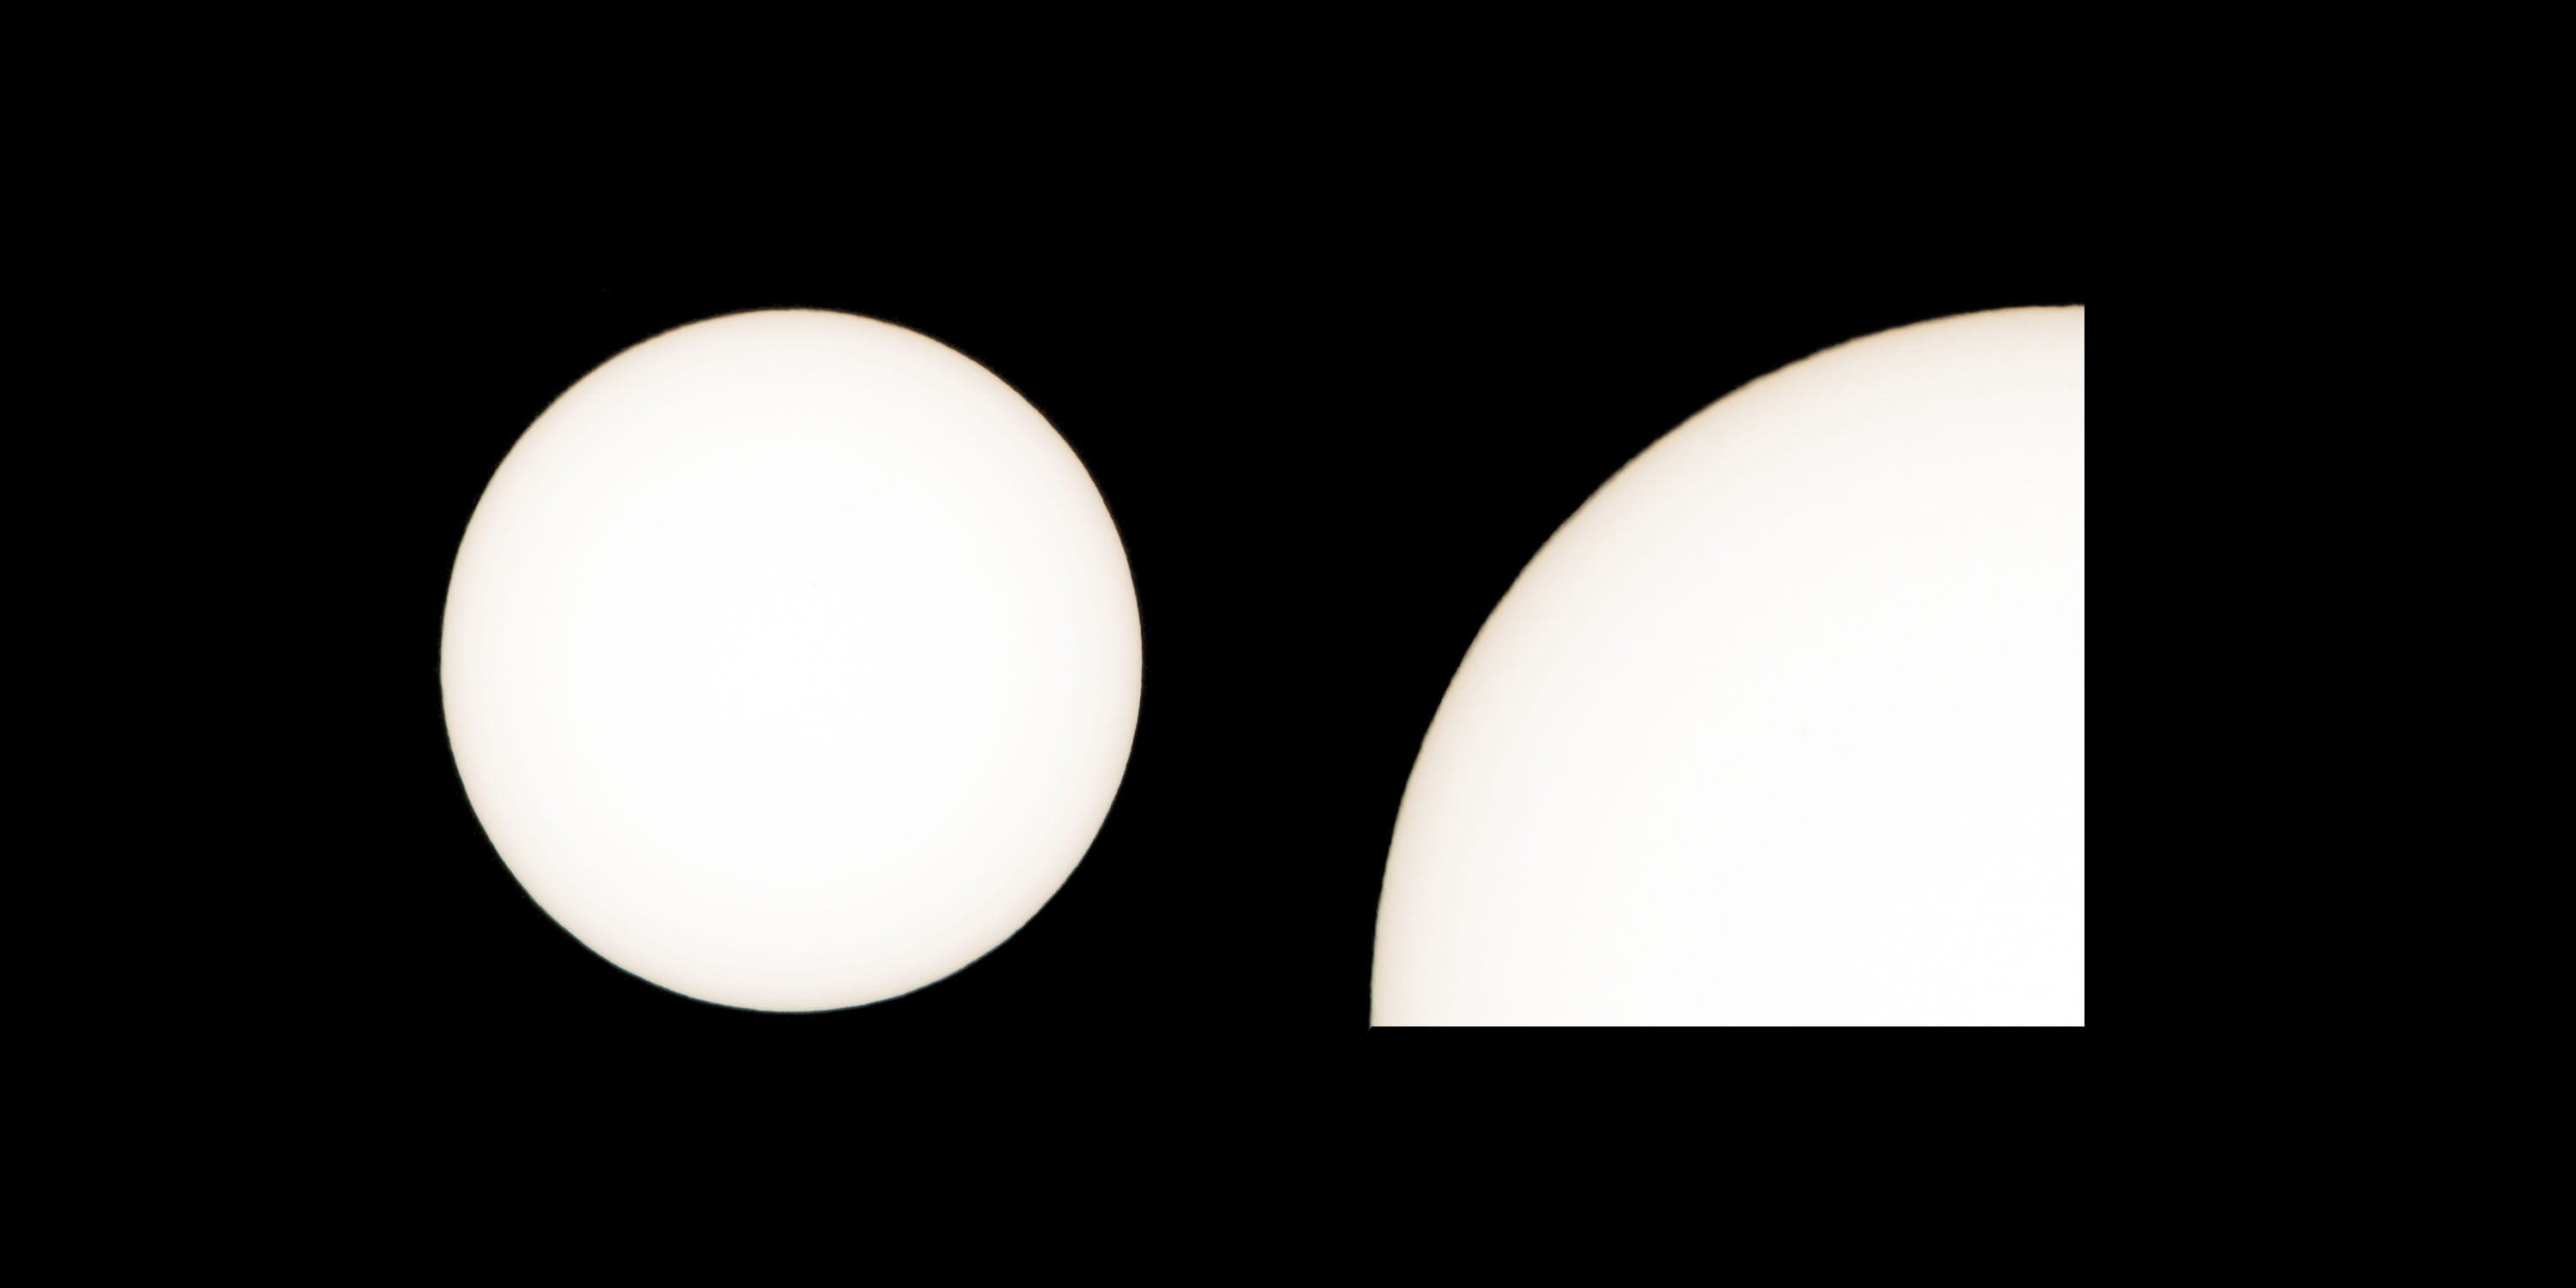
Static ND Filter – Full disk and 200% zoom of edge sharpness (f22, ISO200, 1/4000)
What Are Your Thoughts?
Give this a test yourself – It’s worth a shot. You may find something that works better for you. With Amazon’s return policy, you can’t really go wrong… Below are links to the filters I tested
Filters I tested:
Solar foil: http://amzn.to/2rUgNYJ
Variable ND: http://amzn.to/2smj41v
Static ND: http://amzn.to/2rdRb7y
If you have had experience using these types of filters or have a suggestion for something better, please drop us a note in the comments section below.
Also, check out our other articles on photographing this year’s eclipse:
Photographing an Eclipse: Planning
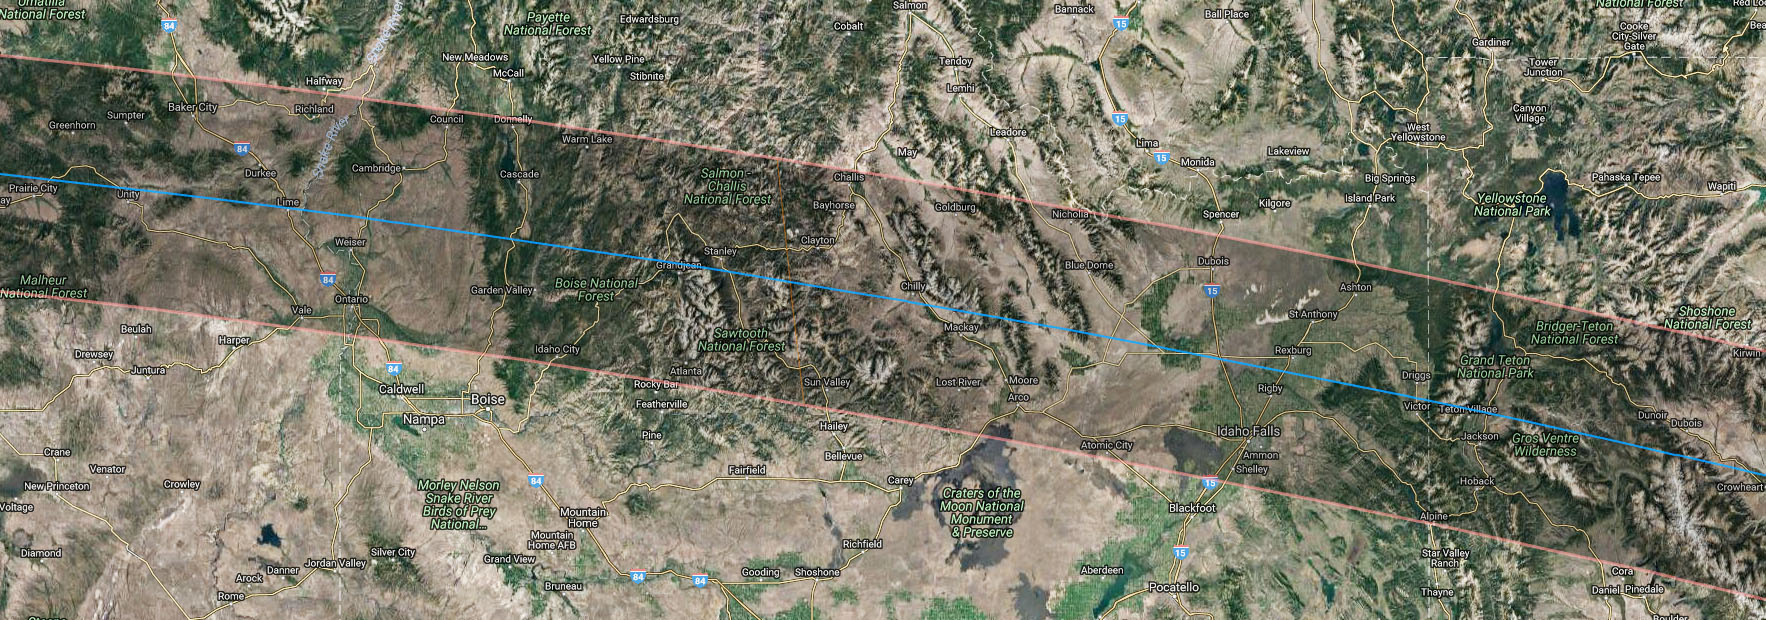
Photographing an Eclipse: Location

