

Photographing an Eclipse: Gear
The tools you will need to get great photos
Now that we have a spot picked out for shooting the eclipse, we need to make sure we have the right gear. To be fair, just about any camera will work if you can put a filter on the lens (a requirement for the safety of your camera and eyes). We will cover protecting your eyes and gear in a future article. There are some gear features that will make your shooting experience easier and safer. This article may seem like it goes on forever… It does… But it is well worth the read. Back to the gear stuff:
Cameras
As I said earlier, just about any camera will do if you can protect it from the sun. Keep in mind that the features discussed below are nice to have, but not required (except manual mode). A few things to consider in a camera are:
Manual Mode: Manual mode is a requirement for shooting an eclipse. With a filter on the front of your camera things will be really dark. If your camera’s meter is left to its own devices, it will interpret the amount of darkness it sees as an under exposure and crank up your settings. This will get worse as the eclipse progresses and more of the sun is covered by the moon. And forget about during totality… Most cameras only have a few stops of exposure compensation – mine only has three. Not enough to compensate for the darkness of a filter and mostly obscured sun. You will need to be in control! If you are not comfortable with manual mode START PRACTICING NOW!!! My apologies for yelling, but don’t wait until the day of to try and figure it out. We will get to practicing in a later article too.
Articulating Screen: The eclipse in August will happen in the middle of the day – the sun will be almost strait overhead. It is hard to work with a viewfinder or LCD screen facing the ground when the camera is pointed strait up (or close to). An articulating screen allows you to view the eclipse while photographing it… And without looking directly at the sun. It also allows you to check your focus without getting under the camera.
Low Light Performance: Many of the filters used for photographing an eclipse block 10 stops or more of light. This is fine while the sun is mostly visible, but things get really dark during totality. To get a good exposure of the ring of the sun surrounding the moon or the sun’s corona, you will need to crank up the ISO to get an acceptable exposure. Especially if you are using a slow lens or a teleconverter (see the discussion on teleconverters below). The better performance your camera has in the ISO department, the cleaner your images will be in general and especially at higher ISOs.
Sensor Size: The sensor size won’t make or break the use of a camera, but it will affect the apparent size of the sun’s disk in your images. The crop factor of the sensor can actually help in your eclipse photography because it increases the apparent focal length of the lens being used. A 200mm lens on a full frame camera produces an image of the sun comparable to a 280mm lens on a 1.4x crop sensor, 300mm on a 1.5x crop, and 400mm on a 2x crop sensor. Crop sensor cameras are also cheaper to purchase or rent. Don’t let anyone with a full frame camera tell you that a larger sensor is necessary.
External Trigger: It will be almost impossible to control camera shake when using long lenses if you are using the on-camera shutter release. Any camera you are using should have a port for a wired shutter release, the ability to trip the shutter via WiFi, or have a built in intervalometer. A cable release is self-explanatory. Most cameras that support WiFi also have a way to change camera settings as well as trip the shutter remotely. This can be invaluable if your camera’s LCD screen doesn’t articulate. An intervalometer allows you to trip the shutter at regular intervals. This is really cool if you are shooting time lapses and you have to crawl on your back to see the back of the camera.
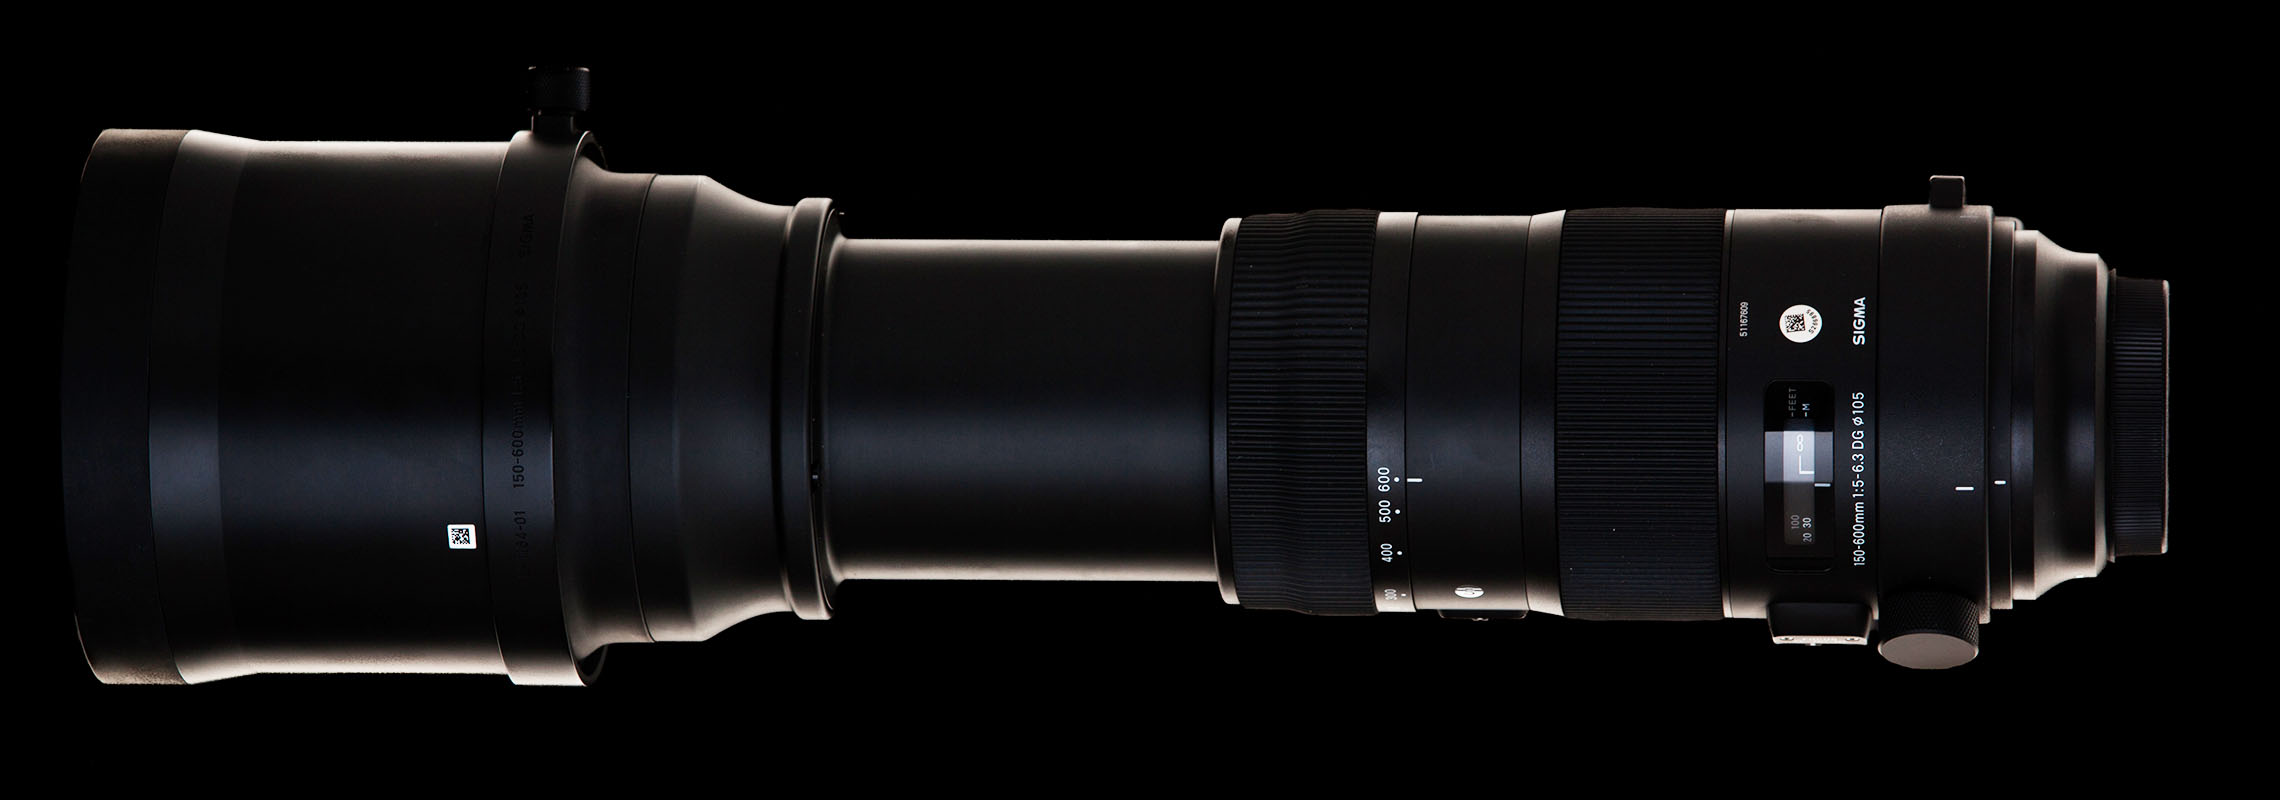
Lenses
Lenses are the piece of kit that will make the biggest difference in your photographs because they determine how large the sun appears on your camera’s sensor. In general, the longer and faster the lens, the better…
Focal Length: If you want your image of the sun to be large in the frame (without cropping) you will need a long lens. Below are some examples of what images of the sun look like at varying focal lengths. The images on a crop sensor are estimated (I don’t own a crop sensor camera)
Manual Focus: Another important feature is the ability to put your lens in manual focus. While you will need to track the sun across the sky, it won’t be getting any closer to or further away from you. Once you are confident that your focus is correct, there should be no need to change it. You may even want to use a piece of gaffer tape to keep it from shifting. Manual focus may also be a requirement depending on the minimum aperture your lens supports (more of a problem with slow glass combined with a teleconverter).
Maximum Aperture: As I have mentioned, there is not much light available during totality. If you are using slower glass (i.e. f5.6 or f6.3) you will be more reliant on shutter speed and ISO to get correct exposures during totality. Keep in mind the moon is a moving subject and it moves faster than you think. To keep the shutter speed up, use the widest possible aperture you can.
Teleconverters: These are a blessing and a curse… They increase the apparent focal length of your lens, but they also decrease the effective aperture. A 1.4x teleconverter decreases your aperture one stop (i.e. f4 to f5.6 or F5.6 to f8). A 2x teleconverter decreases aperture by two stops (i.e. f4 to f8, or f6.3 to f13). Back to the discussion on balancing the exposure triangle while keeping shutter speed high and ISO low… Depending on the lens you are using, teleconverters can be more of a problem than a help.
Tripods
Tripods are pretty much a requirement as long focal lengths make it hard to hold your camera steady. Long, fast, glass is also heavy and holding that up for two hours is a nonstarter.
Tripod Head: The head on your tripod needs to be rated to hold the weight of your rig. A DSLR with a 150-600mm lens weighs several pounds. The head needs to hold that weight with the lens pointed up. Some to the cheaper heads, or tripods that come with built in heads will have limited movement vertically. It would be tragic if your tripod head kept you from pointing your camera high enough up to see the sun…
Height: This is not a big deal for cameras with articulating screens (or WiFi for live view), but for those without, this is huge. If you need to be under your camera to focus, change settings, or re-center the sun in your image, a short tripod will get really frustrating really fast. If you don’t have an articulating screen or WiFi live view, taller is better.
Other Little Things
Batteries: Make sure you have plenty of batteries for all of your equipment. Cameras with electronic viewfinders chew threw batteries like candy (ask anyone with a Sony). Make sure you have enough battery power to get you through your session. Also, don’t forget about your phone. If you are using it for live view via WiFi, it may need a charge too. I carry an extra battery pack so that my phone can be charging while I am using it.
Memory Cards: It seems obvious, but make sure you have plenty of memory card space to capture your images on. It would not be fun to be cleaning your memory card up while trying to get shots of the eclipse. Nothing good will come from that…
Filters
I will cover these in an article on protection for you and your camera. There are several options out there and I have come up with a solution that works for me. That’s the next article – I promise.
I told you this was going to be long 🙂 Hopefully the information here is helpful to you in planning your eclipse photography. Don’t let any of it scare you. If you don’t have some of the gear you need, you can always rent it. A few words of caution though: thousands of people will also want to rent, so get your reservations at Lensrentals.com or BorrowLenses.com in early, and get any rented gear several days in advance. You don’t want to be figuring out a different camera or lens (or both) the day of the event. We will cover practice in a few articles, but I would double down on practicing if you are renting equipment.
Leave a comment below if you have gear recommendations of your own!