
Temptation sells. Learn how pro food photographers shoot enticing images of bubbly cocktails with these simple and refreshing tips.
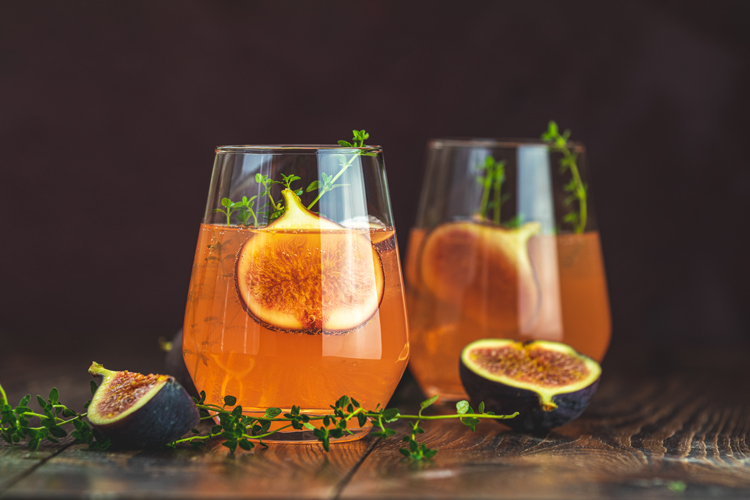
Image by Victoria Kondysenko
The cocktail industry is in the midst of a major shakeup. From sustainable recipes to clean, natural ingredients, the world’s most beloved drinks are getting trendy, healthy makeovers. Plus, with popular Instagram accounts like Apartment Bartender, Amateur Mixologist, and Beautiful Booze paving the way, we’re seeing the cocktail culture expand from high-end bars into everyday households.
Food photographers have a key role to play in the evolution of cocktails, and image-buyers are looking for creative visuals to set their campaigns apart. We consulted four photographers—Victoria Kondysenko, Igor Normann, Mariyana M, and Maksym Fesenko—to learn how they’ve transformed classic cocktail shoots into a fine art. Read on for eleven tips for taking your own beverage photos to the next level.
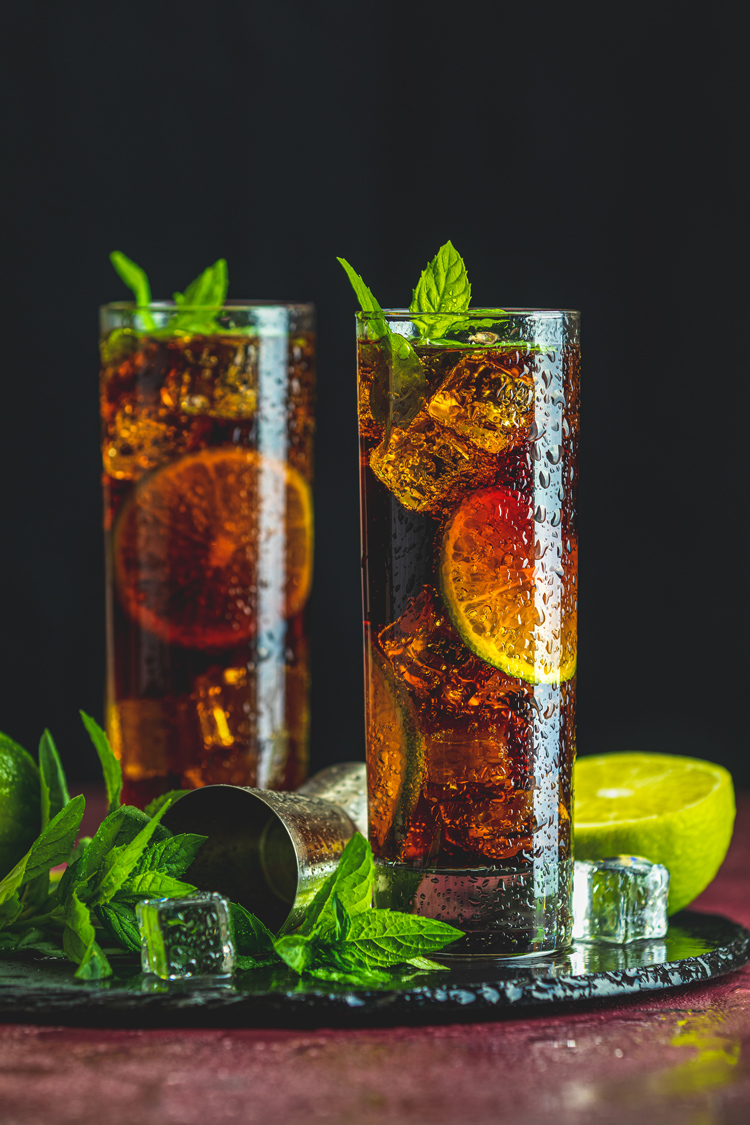
Image by Victoria Kondysenko. Gear: Canon EOS 80D camera, Canon EF 70-200mm f/2.8L IS II USM lens. Settings: Focal length 110 mm; exposure 1/6 sec; f4; ISO 100.
Website | Instagram
Tip #1: Put your glass in the freezer—or use glycerin for condensation.
“There are several ways to achieve a condensation effect on glass surfaces,” Victoria Kondysenko advises. “The first one is to put your dry glass in the freezer for five to ten minutes before the shoot. Your surface will stay well-condensed for approximately fifteen minutes in this case.
“If you want the droplets of condensation to stay on the glass throughout your shoot, use a spray bottle—filled not with water, but with glycerin solution. And to make the drops of condensation look spectacular, put them in focus and use a polarizing filter.”
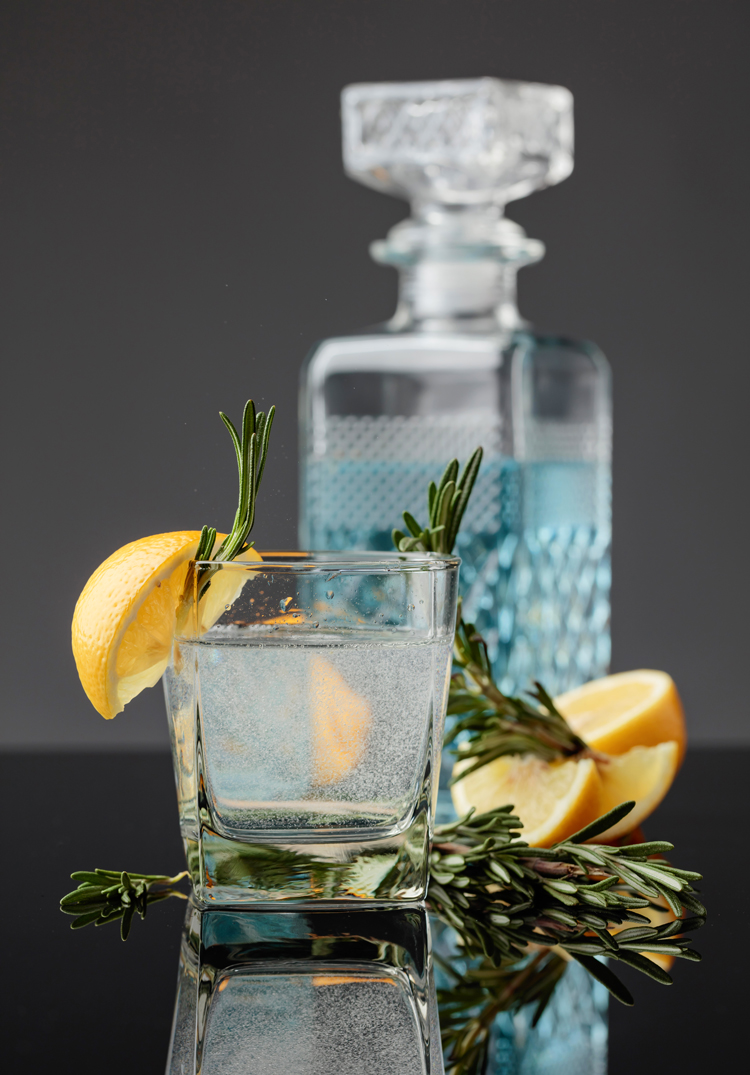
Image by Igor Normann. Gear: Canon EOS 5DS camera, Canon EF 100mm f/2,8 Macro IS USM lens. Settings: Exposure 1/160 sec; f8; ISO 100.
Tip #2: Get everything set up in advance—and be prepared to work quickly.
“Before the shoot, prepare your composition, and check and adjust all your camera settings,” Igor Normann suggests. “Using a remote controller, a tripod, and manual focus will help. With a sparkling beverage, you’ll have to pour it quickly, and then you’ll have just a few seconds to take about two to three shots.
“This technique is more difficult, but the photos will be much more realistic than if you were to place a fizzy aspirin tablet at the bottom of your glass. Often, I consult designers who purchase photos through photo banks, and they have shared that sometimes photos can look too unrealistic. Staying honest and using real effects helps keep your photos natural.”
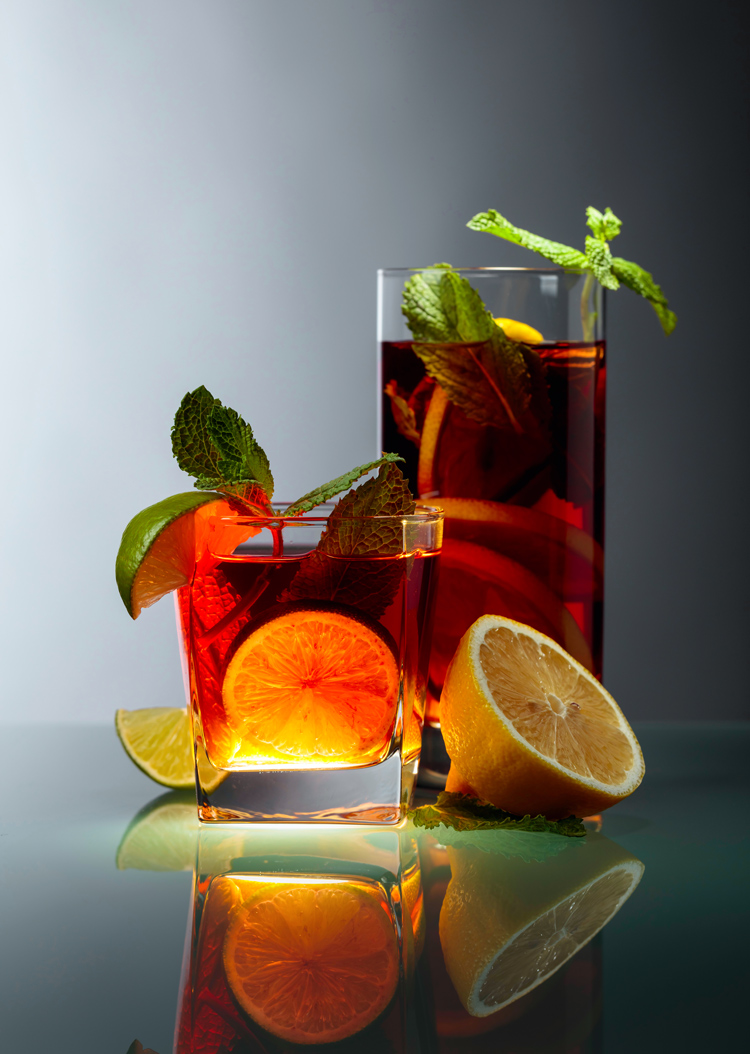
Image by Igor Normann
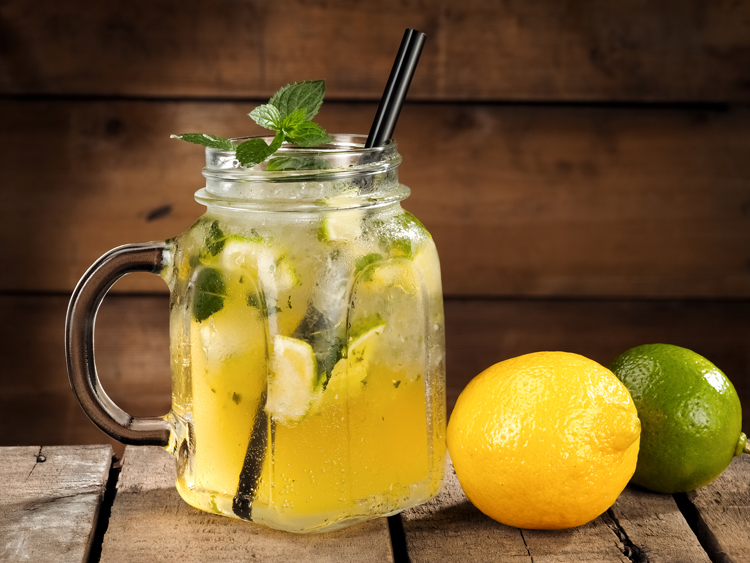
Image by Mariyana M. Gear: Olympus Em1 camera, Zuiko Digital Ed 50mm lens. Settings: Exposure 1/160 sec; f13; ISO 250.
Tip #3: Use real ice and real ingredients.
“When capturing beverages, real foam and bubbles work best,” Mariyana M confirms. “Also, real ice—and a lot of it—makes for great condensation, and, in most cases, I find that to be sufficient. Real ice will also give you those nice reflections and texture.
“If you select the right ingredients, the shoot usually works. For example, in this photo, I used real lemon and lime juice and slices, brown sugar, fresh mint leaves, and ice cubes. Simply mix them, add soda water, and you have a perfect, refreshing beverage.”
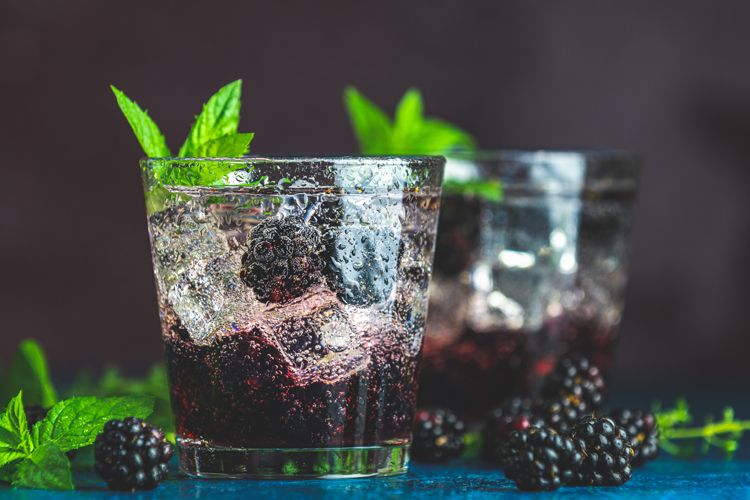
Image by Victoria Kondysenko
Tip #4: Clean your glasses.
A spotless drinking glass is the foundation of a great cocktail shoot, so make sure all your surfaces are spick-and-span. This rule is doubly important if you’re working with transparent glass and effects like steam, condensation, and bubbles. During the shoot, consider wearing latex or cloth gloves to avoid leaving annoying fingerprints.

Image by Maksym Fesenko
Tip #5: Use dark backgrounds for steam.
“Smoke looks nicer if you backlight it and blow it carefully in the right direction before a shoot,” Kondysenko says.
Additionally, selecting a dark background can help the swirls of steam stand out.
If you don’t have enough steam on set, you can always add some subtle smoke effects by burning incense—or you can try some dry ice or an electronic cigarette like Maksym Fesenko sometimes does.
Similarly, Mariyana M occasionally uses a cigarette if she’s working on a Halloween-themed cocktail. The secret here is not to overdo it; if you do use one of these visual “tricks,” make sure it looks authentic and true to life.
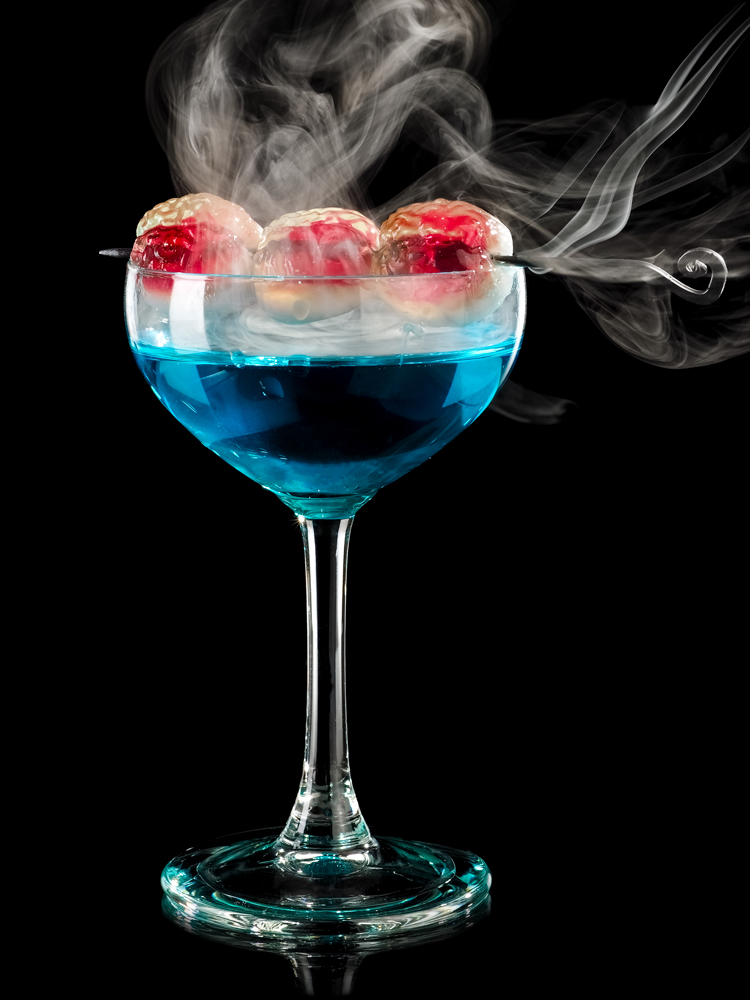
Image by Mariyana M
Tip #6: Use bold color.
“My best-selling cocktail photos tend to include contrasting colors,” Kondysenko adds. “I use vivid but harmonious colors and shades—for example, yellow and turquoise or orange, green, and blue—to get a drink to look juicy and appealing. A classic combination is yellow or red and black. Don’t be afraid to experiment.”

Image by Maksym Fesenko
Tip #7: Bring some gels—and food coloring.
“My portfolio is dominated by photographs with bright colors,” Fesenko tells us. “Colorful gel filters can often be used to decorate even an ordinary bar and make the movement of liquids or vapors more exciting. To create the perfect color for the drink itself, I often use food colors. They don’t cost much at all, and that they don’t stick like the syrups that are added to smoothies.”
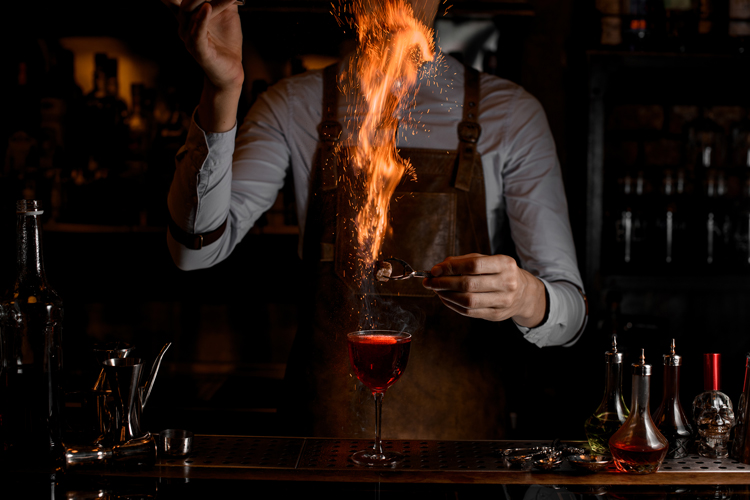
Image by Maksym Fesenko
Tip #8: Take a trip to the pharmacy.
While you’re picking up your food coloring, Fesenko recommends grabbing one more ingredient. “When shooting fire in combination with a cocktail, I find that 98% pharmacy alcohol comes to the rescue,” he tells us. Just make sure you know what you’re doing, and stay safe!
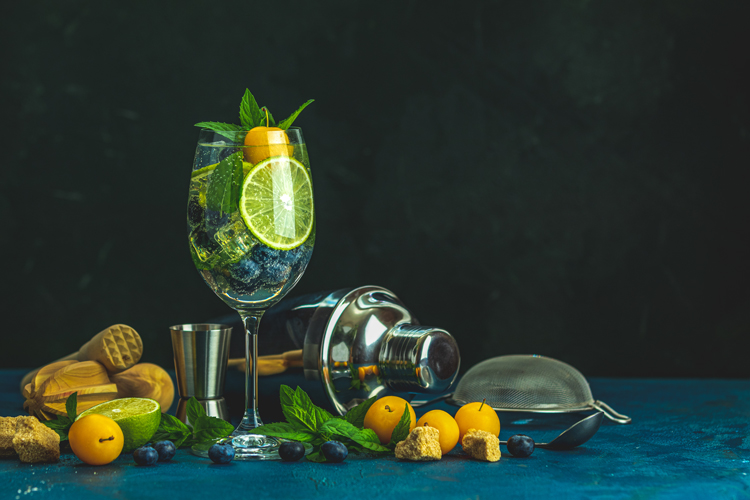
Image by Victoria Kondysenko
Tip #9: Consult a bartender.
“Any successful shoot needs to be a thorough study of the cocktail: its ingredients, the stages of its preparation, etc.,” Kondysenko says. “Seek the advice of experienced international bartenders so you know about the proper glassware and serving techniques to use. Pictures of cocktails aren’t just still lifes; often, there is a whole story hidden behind these photos.”
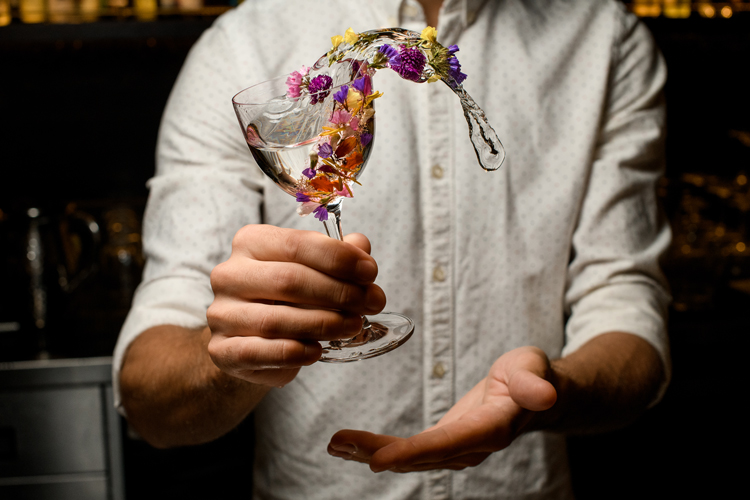
Image by Maksym Fesenko
Tip #10: Incorporate the bartender.
Some of Fesenko’s most successful shots incorporate not only the drink itself but also the person making it. By including the bartender in some of your shots, you help convey that story we mentioned earlier, giving life to the overall scene. To make the most of your shoot, Fesenko recommends capturing the bartender in motion.
If you can’t include the bartender, think about including some classic bartending props to go with your drink.
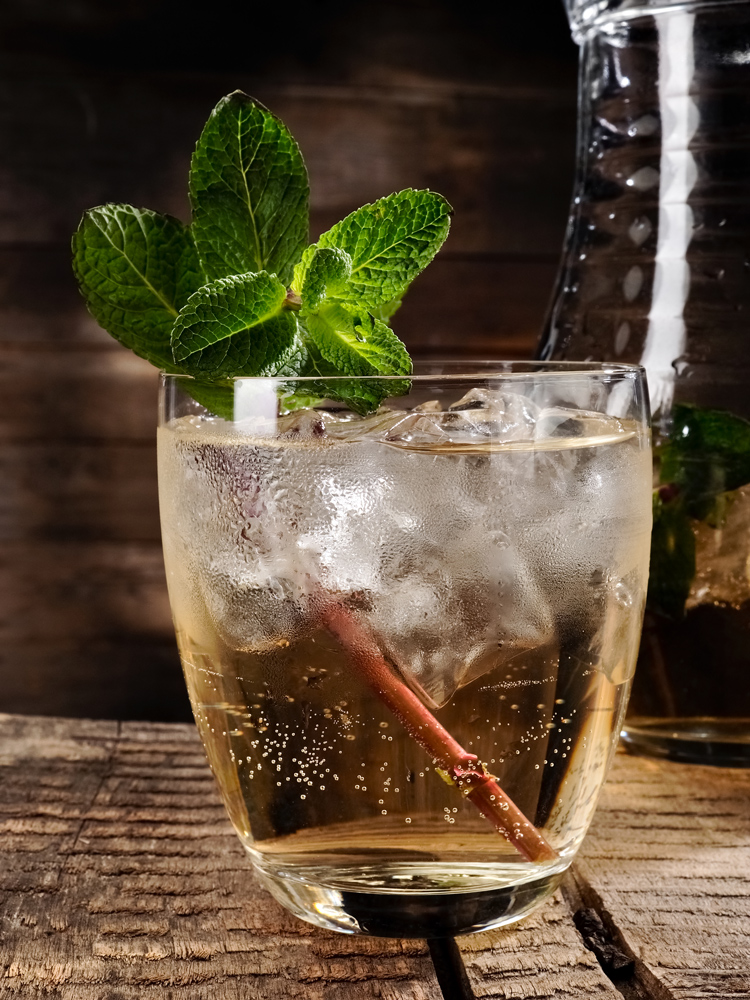
Image by Mariyana M
Tip #11: Get creative.
“When you’re shooting cocktails, you have so many variations and tastes to work with,” Mariyana M explains. “Using your imagination can produce quite interesting results. Cocktails can be pretty, funny, interesting, colorful, refreshing, etc. The most important thing is to have fun with it.”
The more variety you can inject into your portfolio, the better. Give buyers different options to work with—in terms of subject matter, orientation, and composition.
Looking for more tips on how to set up your shot? Check out our tutorial on product shots for more inspiration.
Top Image by Maksym Fesenko
Looking for more on shooting food and drink photos? Check these out.
- Top Photographers on Taking Irresistible Images of Cold Drinks
- 6 Tips to Impress Your Custom Photography Client
- Behind-the-Scenes Secrets for Perfect Photos of Hot Beverages
- 5 Expert Tips for Shooting Mouthwatering Cocktail Photos
- Food Photographer Joanie Simon on Working with Shutterstock Custom


